Getting Started with FlipperMCE
Welcome to the FlipperMCE Getting Started guide! This guide will walk you through obtaining the hardware, assembling your device, and installing the firmware.
Hardware
You can get the hardware for FlipperMCE in different ways:
Buy one assembled from a PCB manufacturer like JLCPCB/PCBWay
When ordering with any PCB manufacturer, make sure to:
- Use 0.8mm PCB thickness
- ENIG finish
You can find all manufacturing files in our PCB Repository.
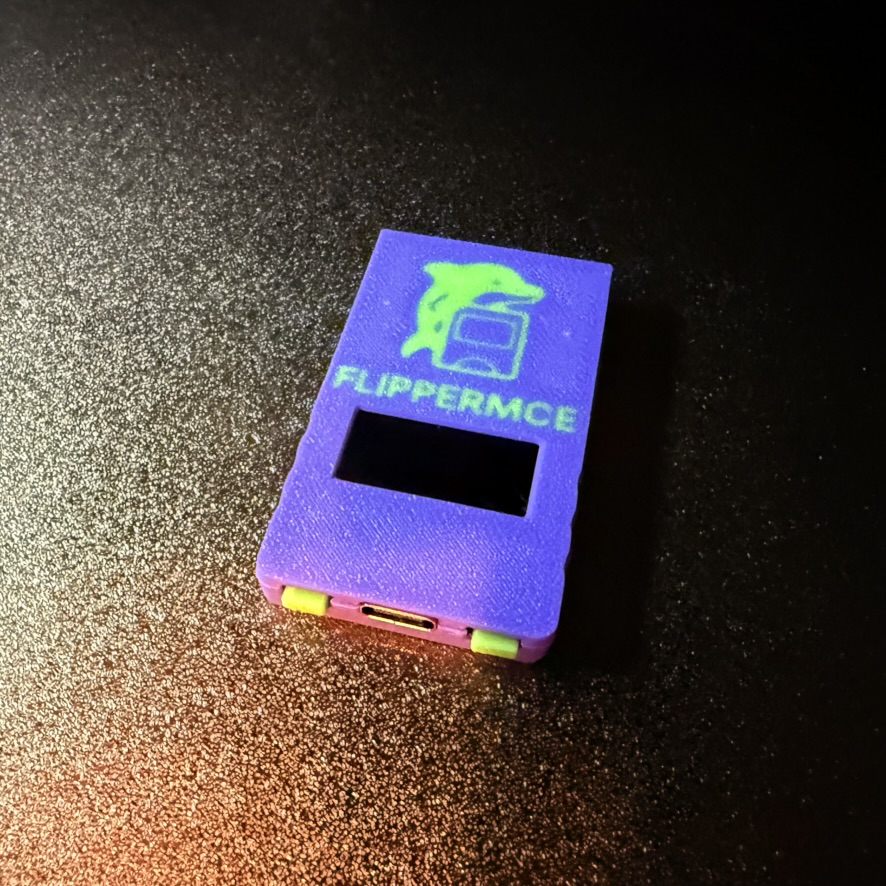
Case
To get the official case for FlipperMCE, please head over to the PCB repository.
Assembly
Assembly Steps:
- Add the Buttons to the top shell
- Connect the Display to the PCB
- Add the Display Bracket to the PCB (it will only fit one way), under the display flex cable
- Drop the PCB + Display + Display Bracket sandwich into the top shell
- Angle-In the Bottom Shell
- Fit the screws
Firmware
Update / Install Firmware
Download the current FlipperMCE (flippermce.uf2) release at the Firmware Repository.
To install the firmware, connect the assembled FlipperMCE to your computer while holding any of the buttons.
A new drive will pop up on your computer called RPI-RP2. Copy over the flippermce.uf2 file.
Note: The drive will automatically disconnect after copying.
Emergency Update
If (for whatever reason) your FlipperMCE became corrupted or cannot start up in the normal firmware update mode anymore, please press and hold the hidden button on the right side of FlipperMCE while connecting to USB.
A new drive will pop up on your computer called RPI-RP2. Copy over the flippermce.uf2 file.
Note: The drive will automatically disconnect after copying.